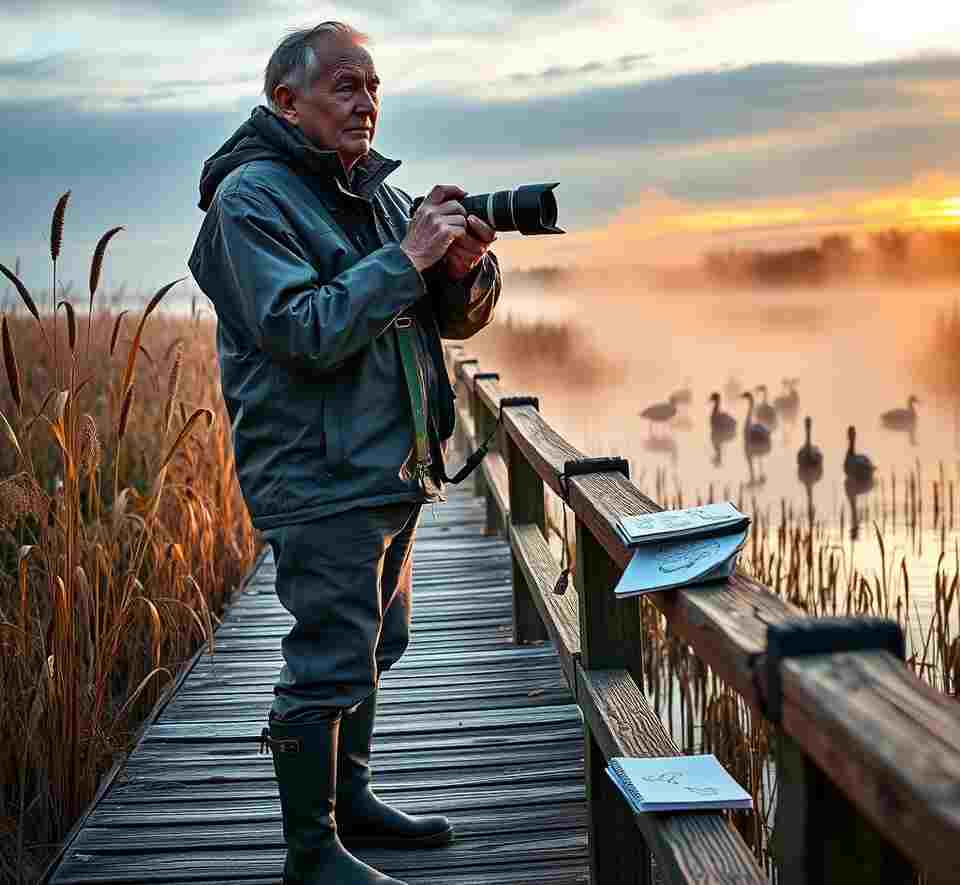
I’ll never forget the first time I captured a clear photo of a ruby-throated hummingbird hovering near my backyard feeder. The iridescent green feathers, the blur of its wings, and the intensity in its tiny eye – it was a magical moment that hooked me on bird photography for life. If you’ve ever felt that spark of excitement watching a bird through your camera lens, you’re in the right place. This guide will take you from those first tentative shots to creating images that showcase the beauty and behavior of our feathered friends in stunning detail.
Are you fascinated by the delicate beauty of a chickadee perched on a branch or the majestic span of an eagle’s wings in flight? Bird photography offers a thrilling way to connect with nature, challenge your creative skills, and capture moments of avian grace that take your breath away. In this comprehensive guide, we’ll explore everything you need to know to get started in bird photography, from essential gear to advanced techniques. We’ll also take a closer look at how the iPhotography Wildlife Photography Course can accelerate your journey from novice to skilled bird photographer.
Click the Play button below to listen to our podcast:
Table of Contents
- 1 Introduction to Bird Photography
- 2 Essential Gear for Bird Photography
- 3 Camera Settings for Bird Photography
- 4 Composition Techniques for Bird Photos
- 5 Understanding Bird Behavior
- 6 Ethical Considerations in Bird Photography
- 7 Post-Processing Bird Photos
- 8 Advanced Techniques for Bird Photography
- 9 Building a Bird Photography Portfolio
- 10 iPhotography Wildlife Photography Course Review
- 11 Conclusion
- 12 Author
Introduction to Bird Photography
Bird photography is a rewarding and challenging subset of wildlife photography that requires patience, skill, and a deep appreciation for nature. As a beginner, you’ll find that photographing birds can be both exhilarating and frustrating. One moment, you’re marveling at a perfect shot of a rare warbler, and the next, you’re watching helplessly as a potential award-winning image of a kingfisher flies out of frame.
I remember my first attempts at photographing birds – a series of blurry sparrows and empty branches where a blue jay had just been perched. But don’t let the challenges discourage you. With the right knowledge, practice, and guidance, you can quickly improve your skills and start capturing stunning bird images that you’ll be proud to share.
Essential Gear for Bird Photography
Camera Body
While you can start bird photography with any camera, including your smartphone, a DSLR or mirrorless camera with good autofocus capabilities will significantly improve your chances of getting sharp, well-exposed images. Look for cameras with:
- Fast continuous shooting speeds (at least 5 fps, preferably higher)
- Good high ISO performance for low-light situations
- Robust autofocus system with multiple focus points
When I upgraded from my entry-level DSLR to a camera with better autofocus and higher frame rates, it was like night and day. Suddenly, those fleeting moments of bird behavior were within my grasp.
Lenses
The most crucial piece of equipment for bird photography is a telephoto lens. Birds are often small and skittish, so you’ll need a lens with significant reach. Here are some options:
- 300mm f/4 – A good starting point for backyard bird photography
- 100-400mm zoom – Versatile option for various bird photography situations
- 500mm f/5.6 or 600mm f/6.3 – Ideal for distant birds and professional-level work
I started with a modest 70-300mm lens, which was great for larger birds and backyard photography. As my skills improved, I invested in a 150-600mm zoom, which opened up a whole new world of possibilities.
Accessories
- Sturdy tripod or monopod to support heavy lenses
- Gimbal head for smooth panning with large telephoto lenses
- Camera rain cover for protection in wet conditions
- Binoculars for spotting birds before setting up your shot
Camera Settings for Bird Photography
Mastering your camera settings is crucial for capturing sharp, well-exposed bird photos. Here are some key settings to consider:
Shooting Mode
- Aperture Priority (Av or A) for controlling depth of field
- Shutter Priority (Tv or S) for ensuring fast shutter speeds to freeze motion
- Manual mode for complete control in challenging lighting conditions
Autofocus Settings
- AI Servo (Canon) or AF-C (Nikon) for tracking moving birds
- Back-button focus for greater control over focusing
- Single-point AF or expanded AF area for precise focusing on the bird’s eye
Exposure Settings
- Fast shutter speeds (at least 1/1000s for perched birds, 1/2000s or faster for birds in flight)
- Wide apertures (f/4 to f/8) to isolate the bird from the background
- Auto ISO with a maximum limit set to maintain image quality
Pro Tip
Learn to use your camera’s Auto ISO feature with a minimum shutter speed setting. This ensures you’ll always freeze bird motion, even in changing light conditions, while maintaining proper exposure. This technique was a game-changer for me when photographing birds in varied lighting conditions.
Composition Techniques for Bird Photos
Creating compelling bird photographs goes beyond just getting a sharp, well-exposed image. Consider these composition techniques to elevate your bird photography:
Rule of Thirds
Place the bird’s eye at one of the intersecting points of the rule of thirds grid. This creates a more balanced and visually appealing image than centering the bird.
Negative Space
Don’t be afraid to leave empty space in your frame. This can create a sense of environment and emphasize the bird’s habitat or behavior.
Eye Level
Whenever possible, try to photograph birds at eye level. This creates a more intimate and engaging perspective. I once spent an hour lying in wet grass to get eye-level shots of sandpipers on a beach – uncomfortable, but the results were worth it!
Background Considerations
Pay attention to the background in your bird photos. A clean, uncluttered background can make your subject stand out, while a contextual background can tell a story about the bird’s habitat.
Understanding Bird Behavior
Successful bird photography requires more than just technical skills; it also demands an understanding of bird behavior. Here are some tips to improve your chances of capturing great bird photos:
- Learn common bird calls to help locate your subjects
- Study bird feeding and nesting habits to anticipate behavior
- Observe flight patterns to predict takeoffs and landings
- Understand the impact of weather and seasons on bird activity
I once spent weeks observing a pair of ospreys building their nest. By learning their routines and behaviors, I was able to capture a stunning series of images showing the entire nesting cycle.
Ethical Considerations in Bird Photography
As bird photographers, we have a responsibility to prioritize the well-being of our subjects and their habitats. Keep these ethical guidelines in mind:
- Never disturb nesting sites or use call playbacks excessively
- Maintain a safe distance to avoid stressing the birds
- Follow local regulations and obtain necessary permits
- Be mindful of your impact on the environment and other wildlife
Remember, no photograph is worth harming or disturbing the birds we love to capture.
Post-Processing Bird Photos
Post-processing is an essential step in creating stunning bird photographs. Here are some key areas to focus on:
RAW Processing
- Adjust white balance to accurately represent the bird’s colors
- Fine-tune exposure and recover highlight/shadow details
- Apply noise reduction for high ISO images
Local Adjustments
- Enhance the bird’s eye for added impact
- Selectively sharpen feather details
- Use dodging and burning to emphasize the bird’s form
Advanced Techniques
- Create high dynamic range (HDR) images for challenging lighting situations
- Use focus stacking to achieve maximum sharpness in close-up shots
- Apply creative color grading to enhance mood
I was amazed at how much detail I could bring out in my bird photos once I learned proper post-processing techniques. The vibrant colors of a wood duck or the intricate feather patterns of an owl really come to life with careful editing.
Advanced Techniques for Bird Photography
As you grow more comfortable with the basics, consider exploring these advanced techniques:
Birds in Flight
Capturing sharp images of birds in flight is one of the most challenging aspects of bird photography. It requires:
- Fast shutter speeds (1/2000s or faster)
- Continuous autofocus with subject tracking
- Panning techniques to follow the bird’s movement
My first successful bird-in-flight shot was a osprey diving for fish. It took hundreds of attempts, but when I finally nailed it, the feeling was indescribable.
High-Speed Flash
Using high-speed flash synchronization can help freeze motion and add catchlights to the bird’s eye, especially in low-light conditions.
Remote Camera Setups
For shy species or challenging locations, consider using remote camera triggers to capture unique perspectives without disturbing the birds.
Building a Bird Photography Portfolio
As you accumulate a collection of bird photographs, consider these tips for building a strong portfolio:
- Curate your best work, focusing on quality over quantity
- Showcase a variety of species, behaviors, and environments
- Tell stories through your images, not just isolated shots
- Consider creating a website or social media presence to share your work
Building my portfolio was a journey of self-discovery. It helped me identify my strengths and the areas where I needed to improve.
iPhotography Wildlife Photography Course Review
While self-study and practice are essential, structured learning can significantly accelerate your progress in bird photography. The iPhotography Wildlife Photography Course, led by renowned wildlife photographer Rachel Sinclair, offers a comprehensive program designed to take your skills to the next level.
Course Overview
- 13 comprehensive modules covering all aspects of wildlife photography
- 5 hours of expert instruction from Rachel Sinclair, a professional with 18+ years of experience
- Practical photo assignments with professional feedback
- Lifetime access to course materials
- CPD approval for quality assurance
- 30-day money-back guarantee
Course Structure: Your Flight Plan to Photography Excellence
| Modules | Module Title | Key Focus for Bird Photography |
|---|---|---|
| 1 | Cameras, Lenses & Accessories | Selecting ideal gear for bird photography |
| 2 | Camera Settings for Wildlife Photography | Mastering settings for sharp, well-exposed bird images |
| 3 | Focusing & More Camera Functions | Advanced techniques for capturing birds in flight |
| 4 | Perfect Pet Photography | Transferable skills for photographing wild birds |
| 5 | Editing Wildlife Photos | Post-processing techniques to make your bird photos shine |
| 6 | Shooting Wildlife At Home & Locally | Setting up the perfect backyard bird photography studio |
| 7 | Essential Wildlife Photography Equipment | Specialized gear for bird photography success |
| 8 | Secrets of Safari & Zoo Photography | Techniques applicable to bird sanctuaries and aviaries |
| 9 | Photographing Native Wildlife | Strategies for capturing local bird species |
| 10 | Enhancing, Exporting & Printing Your Work | Showcasing your best bird photographs |
| 11 | Your Next Steps as a Wildlife Photographer | Building a career in bird photography |
| 12 | Wildlife Photography Abroad | Planning international bird photography expeditions |
| 13 | Meet the Instructor: Rachel Sinclair | Learn from a seasoned bird photography expert |
Key Course Highlights
- Mastering the Essentials: Gear and Settings
Learn to choose the perfect equipment and master camera settings for bird photography. Discover the pros and cons of different camera types, lenses, and accessories specifically for capturing avian subjects. - Advanced Focusing Techniques
Master advanced autofocus modes and learn the art of “focus trapping” to capture perfectly sharp images of birds in flight and perched subjects. - Diverse Photography Environments
From backyard birding to international expeditions, the course covers techniques for various settings:
- Creating a bird-friendly backyard studio
- Navigating challenging environments like zoos and safaris
- Planning and executing successful international bird photography trips
- Post-Processing Magic
Transform your raw captures into stunning final images with advanced editing techniques tailored for bird photography. Learn to use luminosity masks in Photoshop to selectively enhance different areas of your bird photos, such as brightening eyes without affecting surrounding feathers. - Building a Career in Bird Photography
Discover how to take your passion to the professional level:
- Enter and win bird photography contests
- Sell your photos to magazines and stock agencies
- Contribute to conservation efforts and scientific research
Student Testimonials
“The gear section saved me a fortune! Rachel’s advice on choosing the right lens for my style of bird photography helped me make a smart investment that I use every day.” – Alex W., Wildlife Photography Enthusiast
“I used to delete 9 out of 10 shots of birds in flight. After applying Rachel’s focusing techniques, my keeper rate has skyrocketed!” – Chris B., Birdwatching Tour Guide
“The backyard birding module inspired me to transform my garden. Now, I’m capturing National Geographic-worthy shots of hummingbirds right outside my window!” – Lisa M., Backyard Birding Enthusiast
Why Choose iPhotography for Your Bird Photography Journey?
- CPD-approved curriculum, ensuring high-quality instruction
- Personal appraisal of your bird photography projects
- Bird Photography Flip Cards with quick camera tips for field use
- Lifetime access to the Photo Feedback Gallery for ongoing improvement
- Exceptional value at $199 with a 30-day money-back guarantee
“The ongoing support through the Photo Feedback Gallery is priceless. Even months after completing the course, I’m still learning and improving thanks to the community and instructors.” – Michael T., Course Alumni
Course Comparison Table
| Feature | iPhotography Wildlife Photography Course | Competitor A | Competitor B |
|---|---|---|---|
| Instructor Experience | 18+ years | 10 years | 5 years |
| Number of Modules | 13 | 10 | 8 |
| Hours of Video Content | 5+ | 4 | 3 |
| Practical Assignments | Yes | Yes | No |
| Personal Feedback | Yes | Limited | No |
| Bird-specific Content | Extensive | Moderate | Limited |
| Post-processing Tutorials | Advanced | Basic | Basic |
| Career Guidance | Yes | No | No |
| Community Support | Active forum | Limited | None |
| Price | $199 | $249 | $179 |
| Money-back Guarantee | 30 days | 14 days | None |
Conclusion
Bird photography is a rewarding pursuit that combines technical skill, artistic vision, and a deep appreciation for nature. As a beginner, you’ll face challenges, but with practice, patience, and the right guidance, you can quickly improve your skills and start capturing breathtaking images of our feathered friends.
I still remember the frustration I felt during my first attempts at photographing birds in flight. Blurry wings, missed focus, and empty frames were the norm. But with each outing, I learned something new. The day I captured my first sharp image of a peregrine falcon diving for prey, I realized how far I’d come – and how much farther I could go with the right instruction.
The iPhotography Wildlife Photography Course offers that structured, comprehensive approach to learning bird photography, led by an experienced professional. With its combination of technical instruction, practical assignments, and ongoing support, it provides an excellent foundation for anyone looking to elevate their bird photography skills.
Remember, the most important aspect of bird photography is to enjoy the process. Every outing is an opportunity to connect with nature, learn something new, and potentially capture a once-in-a-lifetime moment.
Your Next Steps
- Start practicing today: Even if you only have a smartphone, head outside and start observing and photographing birds in your local area. Pay attention to their behaviors, movements, and habitats.
- Invest in your education: Consider enrolling in the iPhotography Wildlife Photography Course. With its comprehensive curriculum and expert guidance, you’ll fast-track your progress and avoid common beginner mistakes.
- Join a community: Look for local birding or photography groups in your area. Sharing experiences and knowledge with like-minded enthusiasts can be incredibly motivating and educational.
- Plan your first dedicated bird photography trip: Whether it’s a day trip to a nearby wildlife refuge or a weekend getaway to a birding hotspot, start planning an excursion focused on capturing amazing bird images.
So, what are you waiting for? Grab your camera, head outdoors, and start your bird photography adventure today! The skies are full of winged wonders waiting to be discovered through your lens. And who knows? Your next shot could be the one that takes flight and soars into the realm of truly extraordinary bird photography.
Remember, every great bird photographer started as a beginner. With dedication, practice, and the right guidance, you too can create images that capture the beauty and wonder of the avian world. Don’t let another day pass without taking that first step. Your bird photography journey begins now!
Images created using PicLumen.
