
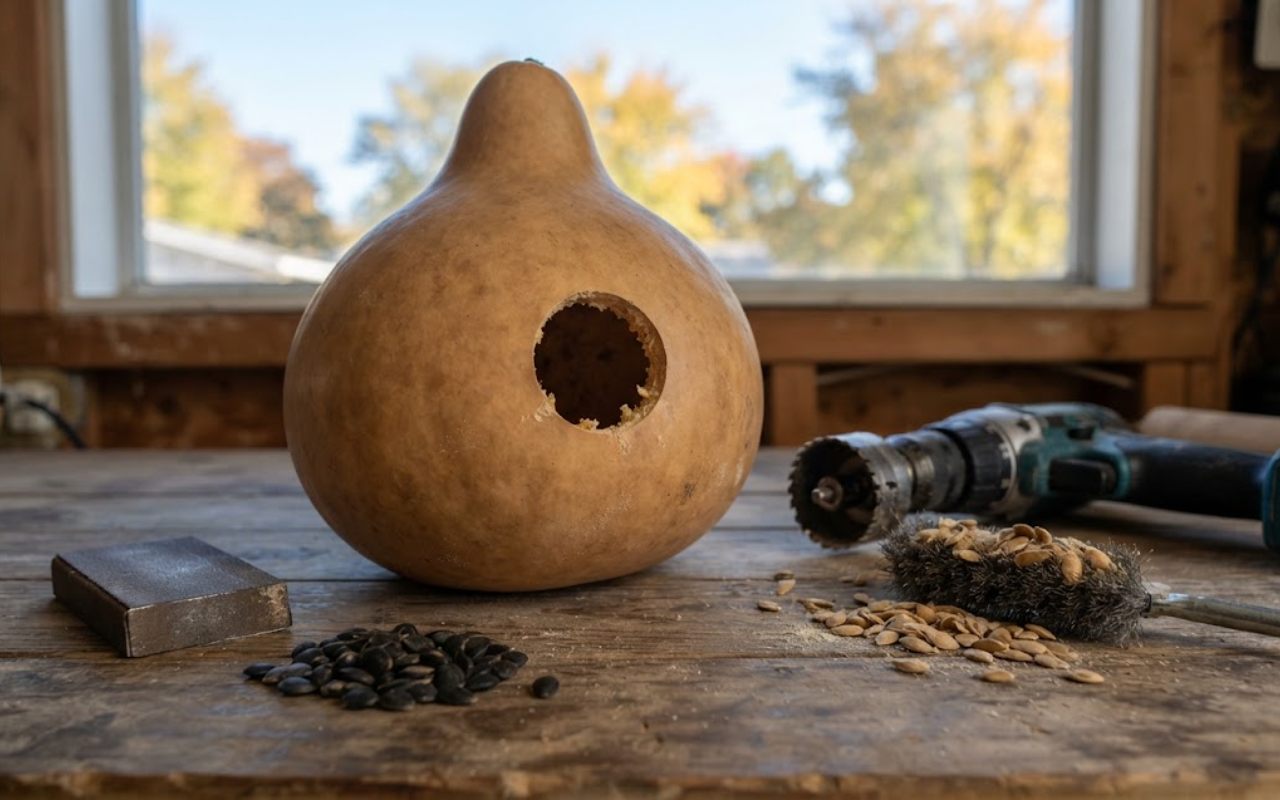
Learning how to dry and hollow out gourds for fall bird houses allows backyard conservationists to transform late-season garden harvests into durable, species-specific avian shelters. Hard-shell birdhouse gourds (Lagenaria siceraria) provide exceptional insulation and natural microclimates for cavity-nesting species when harvested after the vine completely withers in autumn.
Standard garden guides often gloss over the prolonged curing process, leading to crushed shells, interior fungal rot, or abandonment by prospective wild birds. Navigating the slow drying period requires rigorous environmental moisture control, biological safety measures, and precise anatomical modifications before hanging your completed gourd outside.
Quick-Glance Field Summary
Successfully curing birdhouse gourds requires maintaining consistent cross-ventilation across a four-to-six-month timeline until the seeds rattle distinctly inside the shell. Once dehydrated, you must soak the outer skin to remove surface mold, bore accurate species-specific entry holes, and strip the interior placenta to deter moisture-loving parasites.
- Curing ambient temperature: 50°F to 70°F in an elevated, well-ventilated space
- Disinfection wash ratio: 1 part household bleach to 9 parts water (or 1 cup borax per gallon of warm water)
- Base drainage holes: Four 0.25-inch perforations angled through the bottom basin
- Bluebird and Tree Swallow entrance diameter: 1.5 inches drilled 2 inches above the internal floor
- Purple Martin entrance diameter: 2.125 inches drilled along the widest shoulder curvature
- Chickadee and House Wren entrance diameter: 1.125 to 1.25 inches
Curing Rack Airflow and Mold Management
Successful curing begins on the vine; you must leave at least two inches of stem attached to the fruit to prevent soft-rot pathogens from invading the neck. On forums like the Purple Martin Conservation Association (PMCA), veteran gourd managers emphasize that harvesting green gourds before the primary vine dries to a brittle brown guarantees structural collapse within three weeks.
Keep your harvested gourds elevated on slatted wood pallets, wire racks, or suspended from overhead rafters rather than storing them flat on concrete garage floors.
Concrete draws moisture downward through hydrostatic pressure, which quickly softens the base of heavy gourds and causes localized rotting. Surface saprophytic molds will rapidly colonize the waxy outer rind as the gourd expels interior moisture through its skin pores.
These dark surface fungal growths are entirely normal and actively assist the outer skin in releasing moisture vapor. You must step in only if the gourd develops soft, squishy depressible indentations, which indicate terminal bacterial rot rather than routine surface mold.
Throw away any gourd that gives way under light thumb pressure to prevent the spread of liquefying rot across your rack. Do not seal, wash, or wipe the gourds with oil during this phase; air movement is your only reliable defense against internal collapse.
- Elevate racks at least six inches above the ground to establish passive cross-drafts.
- Space individual gourds two inches apart so moisture cannot pool between touching skins.
- Maintain a stable curing room humidity below 60 percent using circulating box fans.
- Discard any gourd that collapses inward or oozes dark fluid from its blossom scar.
| Target Songbird Species | Mandatory Entrance Hole Diameter | Hole Height from Gourd Base | Pest Exclusion Advantage |
|---|---|---|---|
| House Wren / Chickadee | 1.125 inches (1-1/8″) | 4 to 6 inches up from the internal floor level. | Strictly excludes larger, invasive House Sparrows and European Starlings. |
| Eastern Bluebird | 1.500 inches (1-1/2″) | 6 to 7 inches up from the internal floor level. | Allows perfect bluebird entry; requires careful site hanging to avoid sparrow competition. |
| Purple Martin | 2.125 inches (2-1/8″) | 1 to 2 inches up from the internal floor level. | Requires massive 9-to-12 inch gourds hung in wide, high clusters over open fields. |
Exterior Disinfection and Skin Scraping Protocols
A fully cured birdhouse gourd feels surprisingly featherlight, and its loose seeds will produce a distinct maraca rattle when you shake it vigorously. Once the drying phase finishes, you must remove the crusty exterior cuticle and dormant fungal spores to protect nesting songbirds from airborne respiratory threats.
In backyard wild bird communities, hobbyists frequently warn against dry-sanding raw gourds because breathing concentrated Aspergillus spores can trigger intense allergic reactions and lung irritation.
Submerge the dried gourds in a tub of warm water weighted down with a damp towel to keep the buoyant shells submerged for twenty to thirty minutes.
Add a 1:9 household bleach-to-water dilution to the soak to instantly neutralize fungal pathogens and soften the papery outer skin. You can also use a concentrated borax solution if you want to avoid working with chemical bleach odors.
Take a stiff copper scrubbing pad or a dull putty knife and scrape away the softened outer epidermal layer down to the smooth, tan woody shell beneath. The underlying lignified shell should emerge smooth, firm, and speckled with natural, permanent dark mottling patterns.
Rinse the scraped gourd thoroughly under clean running water, and set it in direct sunlight for twenty-four hours to dry completely before drilling.
- Wear an N95 respirator mask and nitrile gloves when handling wet, moldy gourds.
- Soak the shells for twenty minutes to eliminate dry dust during the scraping phase.
- Use dull kitchen scrapers or copper mesh to prevent gouging the structural wood fibers.
- Dry the stripped gourds in full outdoor sun to bake out any lingering moisture.
Entry Hole Drilling and Wall Integrity Checks
Determining the exact entry hole diameter dictates which wild avian species can safely utilize your gourd while excluding aggressive competitors like European Starlings. A standard 1.5-inch circular hole permits native Eastern Bluebirds and Tree Swallows to enter while blocking larger non-native predators. Smaller species like Black-capped Chickadees and House Wrens require a restrictive 1.125-inch to 1.25-inch aperture to prevent nest takeovers.
Place a strip of blue painter’s tape directly over your planned target area before running a high-speed hole saw bit through the shell. The tape prevents the drill bit from tearing, splintering, or cracking the brittle, fibrous walls of the dried gourd shell. Keep the lower lip of the entry hole roughly two to three inches above the interior floor so the mother bird has sufficient room to construct a deep, insulated cup.
Inspect the cut edge of the hole to evaluate the thickness and structural health of the woody wall. A prime birdhouse gourd exhibits a dense, clean wall thickness of at least a quarter-inch, which provides essential thermal insulation against summer heat spikes. If your gourd has razor-thin, paper-like walls, set it aside for indoor decorative craft use instead of placing it outdoors where it could crack under harsh weather conditions.
- Bluebird target entrance: 1.5-inch diameter hole saw bit
- Chickadee target entrance: 1.125-inch hole saw bit
- Carolina Wren target entrance: 1.25-inch hole saw bit
- Purple Martin target entrance: 2.125-inch hole saw bit or a starling-resistant crescent opening
Internal Placenta Removal and Deseeding Hacks
Drilling the entry hole exposes the gourd’s cavernous interior, which contains a dried web of spongy placental membrane and hundreds of loose seeds. Leaving this internal matrix inside will invite nest-destroying pantry moths, dermestid beetles, and moisture-retaining fungal colonies into your nest chamber. A widely shared trick among DIY gourd crafters is using a bent metal kitchen spoon clamped into locking pliers to scrape the inner walls clean.
Other forum users attach a short length of looping plumber’s snake or a curved drywall rasp to an electric drill chuck to rapidly scour out the stubborn dried web. Work your tool vigorously around the internal curves, breaking up the stringy center core without puncturing the shell’s perimeter. Dump the dislodged mass onto a tarp, shake the gourd repeatedly, and sweep out the dusty pulp until only smooth wood remains.
Once the bulk debris falls free, inspect the internal chamber with a bright flashlight to confirm that no damp fungal pockets linger inside the curved neck. Dust the bare interior walls with a light dusting of food-grade diatomaceous earth if you live in a region plagued by parasitic blowfly larvae. Never apply synthetic paints, chemical insecticides, or oil stains to the inside of the chamber where birds will sleep and brood.
- Plumber’s drain snake attachments churn interior webs quickly without splitting the shell.
- Curved grapefruit spoons work exceptionally well for scraping stubborn neck deposits.
- Pour out all interior seeds to avoid attracting foraging field mice into your work area.
- Vacuum the interior chamber using a narrow wet-dry vacuum nozzle for a clean finish.
Drainage Venting and Exterior Weatherproof Finishes
Proper moisture dissipation decides whether nestlings thrive or succumb to hypothermia inside a gourd house during torrential fall and spring rains. Drill four distinct 0.25-inch drainage holes through the absolute lowest point of the gourd base, angling the bit outward slightly. Drill two additional 0.125-inch holes high up on opposite sides of the neck to exhaust rising warm air and prevent heat exhaustion during early summer broods.
Hang the completed gourd using a clean pass-through wire rather than a weak screw eye installed in the brittle top stem. Community members on wildlife craft boards often warn that drying stems snap easily under the weight of nesting material and summer wind gusts. Run a 14-gauge galvanized wire or insulated copper line directly through two reinforced 0.187-inch holes drilled through the solid neck shell.
Coat the exterior shell with two layers of water-based, non-toxic exterior acrylic paint or marine-grade spar varnish, leaving the interior entirely unsealed. Pure white exterior paint reflects radiant solar heat, which keeps the brood chamber remarkably cooler than unfinished dark gourds on hot afternoons. Allow the paint to cure fully for at least three weeks in an open shed so all chemical paint odors dissipate completely before wild songbirds claim their new territory.
- Drill four 0.25-inch drain holes in the base to vent pooled rain instantly.
- Drill two 0.125-inch cross-ventilation holes near the neck shoulder for active chimney airflow.
- Run continuous 14-gauge galvanized wire through the neck to bypass fragile, decaying stems.
- Coat the exterior exclusively in light-colored, non-toxic acrylic paint to stabilize nesting temperatures.
Inviting Your New Tenants
Once the paint odors have fully cleared, hang your finished gourd houses in early spring before cavity-nesting birds begin scouting for territories. With proper drainage, thick insulating walls, and an accurate entrance hole, your handmade shelters will provide a safe, weatherproof sanctuary for generations of backyard songbirds to come.