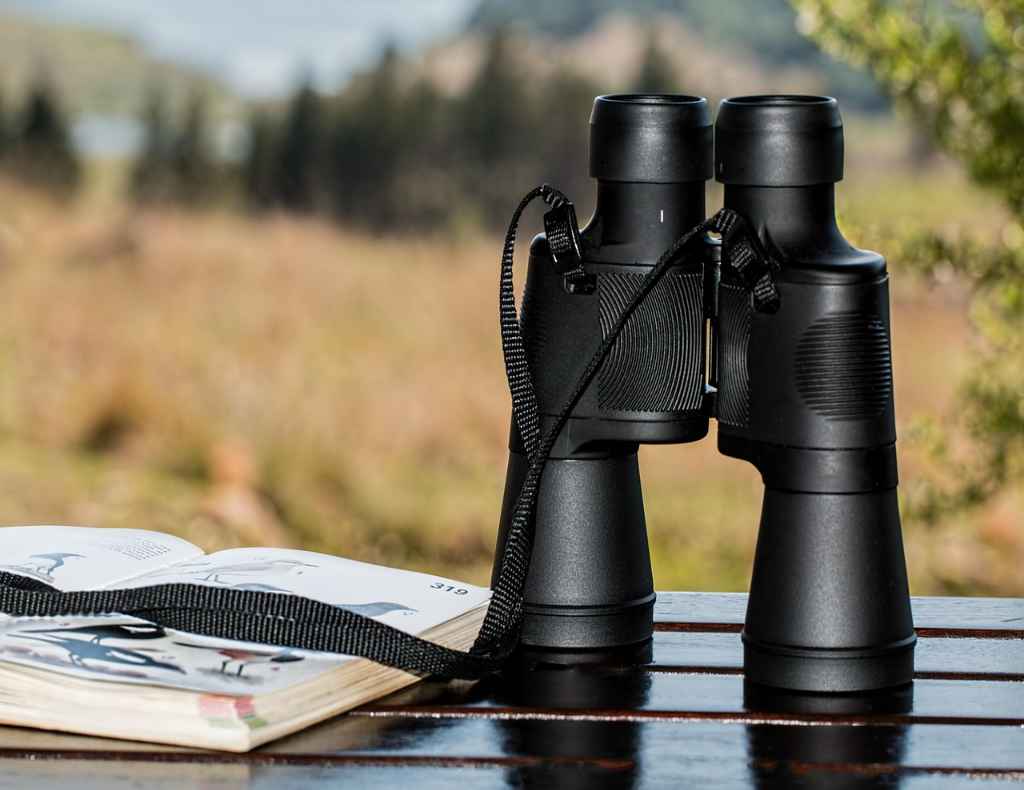

So you’ve decided to get serious about birdwatching, and now you’re stuck on the question every beginner asks: Which binoculars should I buy? I’ve been there too. Standing in the optics aisle, staring at a wall of binoculars that all look the same but somehow range from $50 to $2,000. Spoiler alert: the price tags alone don’t tell the whole story.
Here’s the good news. Choosing the right binoculars for birding doesn’t need a PhD in optics. You don’t have to be a seasoned ornithologist with a field journal and khaki vest, either. IMO, once you learn how to choose binoculars for birdwatching, you’ll realize it’s a lot simpler than it looks. Know the key things to look for, and what’s just marketing fluff, and you’ll walk away with a pair that makes birdwatching way more fun. And yes, you’ll actually spot that warbler before it zips off.
Ready? Let’s break down exactly what you need to know without drowning in jargon.
Table of Contents
- 1 Why Binoculars Are a Big Deal for Birdwatching
- 2 Understanding the Numbers on Binoculars
- 3 Magnification: Why Bigger Isn’t Always Better
- 4 Field of View: Seeing the Bigger Picture
- 5 Lens Size and Brightness: Why 42mm Is the Sweet Spot
- 6 Prism Types: Roof vs. Porro
- 7 Don’t Ignore Eye Relief (Especially If You Wear Glasses)
- 8 Weight and Comfort: Your Neck Will Thank You
- 9 Waterproofing and Fog-Proofing: Yes, It Matters
- 10 Price Range: How Much Should You Really Spend?
- 11 Extra Features Worth Considering
- 12 My Personal Go-To Binoculars
- 13 Quick Checklist Before You Buy
- 14 Conclusion
- 15 Author
Why Binoculars Are a Big Deal for Birdwatching
Let’s get this out of the way first: yes, you can birdwatch without binoculars. But you’ll spend most of your time squinting and muttering, “I think that’s a sparrow… maybe?”
Binoculars make or break your birding experience. They let you see feather detail, spot movement in dense foliage, and ID species you’d miss with the naked eye. Plus, it just feels cool to raise your binoculars and suddenly see a bird crystal-clear that was just a blur a second ago.
Think of them as your birdwatching superpower. Without them, you’re basically playing the game on hard mode.
Understanding the Numbers on Binoculars
Ever picked up a pair and seen something like “8×42” stamped on the side? That’s not a random code, it’s the most important info you’ll see.
- First number (magnification): How many times closer the object looks.
Example: 8x means the bird looks 8 times closer than with your naked eye. - Second number (objective lens diameter in mm): The size of the front lenses. Bigger lenses = more light, which usually means a brighter image.
So, an 8×42 pair gives you 8 times magnification with 42mm lenses.
Pro tip: Stick to 8x or 10x magnification for birding. More than that, and the view gets shaky unless you carry a tripod (and let’s be honest, you’re not lugging one around unless you’re doing hardcore eagle watching).
Magnification: Why Bigger Isn’t Always Better
It’s tempting to grab the highest magnification you see. I made that mistake once. Bought a 12×50 pair because I thought, “more zoom = more birds.” Sounds logical, right? Wrong.
Here’s why higher magnification isn’t always your friend:
- Shaky image: Every tiny hand movement gets magnified. You’ll feel like you’re watching birds during an earthquake.
- Narrow field of view: Good luck finding that tiny warbler in a sea of leaves.
- Less light: More magnification usually means a dimmer image, especially in early morning or late afternoon.
For most beginners, 8x binoculars strike the perfect balance. They give you a wide enough field of view to spot movement and enough zoom to see detail.
Field of View: Seeing the Bigger Picture
You know when a bird suddenly takes off, and you’re left spinning in circles trying to follow it? That’s where field of view (FOV) matters.
- Wide FOV means you see more of the scene at once.
- Narrow FOV means you’re basically looking through a straw.
For birdwatching, a wider FOV is a lifesaver. Look for at least 350 feet at 1,000 yards (this is usually listed on the specs).
Translation: The higher the number, the easier it is to follow birds in flight.
Lens Size and Brightness: Why 42mm Is the Sweet Spot
Remember that second number we talked about earlier? It’s all about how much light your binoculars pull in. More light = brighter, clearer images.
- Compact binos (25mm): Super portable but not great in low light.
- Mid-size (32mm–36mm): Lighter than full-size, decent brightness.
- Full-size (42mm): Most popular for birding because they balance brightness and portability.
Personally, I swear by 8×42 binoculars. They’re light enough for long hikes but still bright when I’m out at dawn.
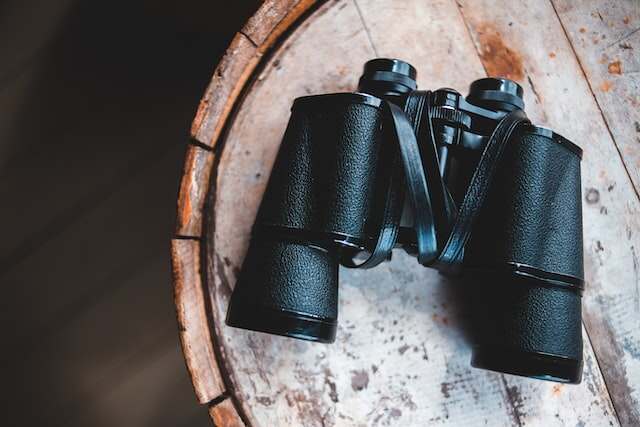
Prism Types: Roof vs. Porro
Okay, quick optics 101. Binoculars use prisms to flip the image, so birds aren’t upside down. There are two main designs:
- Roof Prism: Sleek, straight-barrel design. Lighter, more compact, and usually pricier. Great for hiking.
- Porro Prism: Bulkier, with the classic zig-zag shape. Often cheaper and gives a wider field of view.
My take: If you’re just starting, Porro prisms give you more bang for your buck. If you’re willing to spend a bit more for comfort and portability, go for roof prisms.
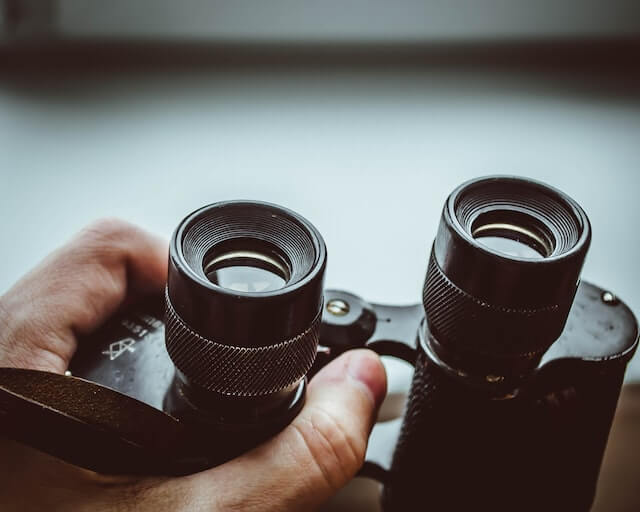
Don’t Ignore Eye Relief (Especially If You Wear Glasses)
If you wear glasses, this detail can make or break your birdwatching experience. Eye relief is the distance your eye can be from the eyepiece and still see the full view.
- Look for at least 15mm of eye relief if you wear glasses.
- Some binoculars have adjustable eyecups, so you can tweak them for comfort.
Trust me, nothing’s worse than realizing your “perfect” new binoculars cut off half the view because of your glasses.
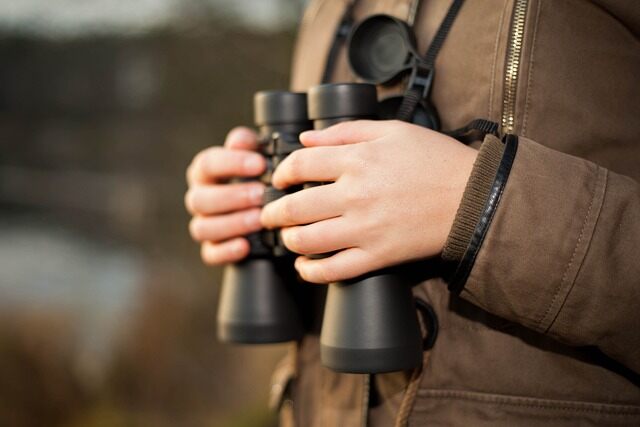
Weight and Comfort: Your Neck Will Thank You
Here’s the thing nobody tells you: even the best binoculars are useless if they’re too heavy. I once took a 10×50 pair on a hike. Two hours in, my neck hated me, and I basically stopped using them.
Check the weight before you buy. Aim for under 2 pounds if you plan on carrying them for hours.
Pro tip: A good padded neck strap or even a binocular harness makes a world of difference. Your shoulders will thank you later.
Waterproofing and Fog-Proofing: Yes, It Matters
Birds don’t care if it’s raining. They’ll still show up. So if you plan to go out in damp conditions (and you will), make sure your binoculars can handle it.
- Waterproof: Look for “O-ring sealed” in the specs.
- Fog-proof: Usually nitrogen- or argon-purged to keep lenses from fogging up.
Skip this, and you’ll end up wiping your lenses every five seconds while the heron you wanted to see flies away.
Price Range: How Much Should You Really Spend?
Here’s the million-dollar question (don’t worry, good binos don’t actually cost a million).
- Under $150: Great for beginners. Don’t expect top-tier clarity, but solid enough to get started.
- $150–$300: Sweet spot for most birders. Good optics, durability, and comfort.
- $300–$600: Serious birders territory. Crisp images, excellent light transmission, and long-term durability.
- $600+: If you’ve got the budget and birding is your obsession, go wild. Just know you don’t need these to enjoy the hobby.
IMO, around $250–$350 is where you’ll find the best balance of quality and price.
Extra Features Worth Considering
- Close focus distance: Lets you see birds that land really close, like at a feeder. Look for 6–8 feet.
- Image stabilization: Great for high magnification, but adds weight and cost.
- Lens coatings: Fully multi-coated lenses give brighter, sharper images.
- Tripod adaptability: Nice if you plan to use them for long viewing sessions.
My Personal Go-To Binoculars
In case you’re wondering, I use a pair of Nikon Monarch 5 8x42s. Light, crystal clear, and perfect for both forest walks and open fields. They’re not the cheapest, but after years of trial and error (and some neck strain), I haven’t looked back.
Would I recommend them for beginners? Absolutely. But hey, find what feels good for you. Binoculars are like shoes, they need to fit your style, not just look good on paper.
Quick Checklist Before You Buy
- Magnification: Stick with 8x or 10x.
- Lens size: 42mm is the sweet spot.
- Field of view: At least 350 feet at 1,000 yards.
- Weight: Under 2 pounds.
- Prism type: Roof for compactness, Porro for budget-friendly.
- Waterproof and fog-proof: Non-negotiable if you go outdoors (so, always).
- Eye relief: Minimum 15mm if you wear glasses.
Conclusion
Choosing binoculars for birdwatching doesn’t have to be a headache. Remember the golden rule: buy what feels comfortable and fits how you plan to birdwatch, not just what sounds impressive on paper.
Don’t stress about getting the “perfect” pair right away. Start with something solid, learn what you like, and upgrade later if you want. At the end of the day, the best binoculars are the ones that get you out there watching birds, not collecting dust on a shelf.
So grab your new binos, head outside, and get ready to finally ID that mystery bird you’ve been chasing. And hey, if you end up spotting a rare one, you can thank me later 🙂
Related Post: Best Binocular Harness Strap for Birding (2022)